Organic Gardening
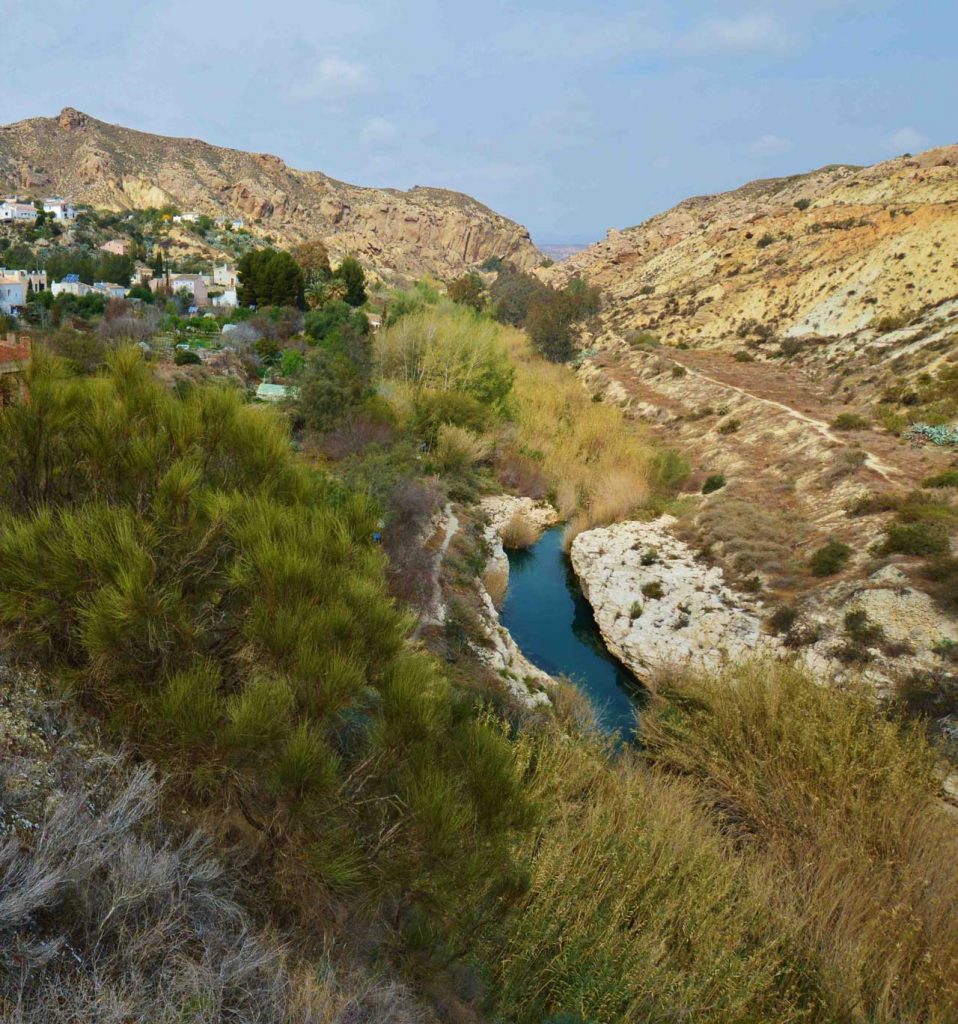
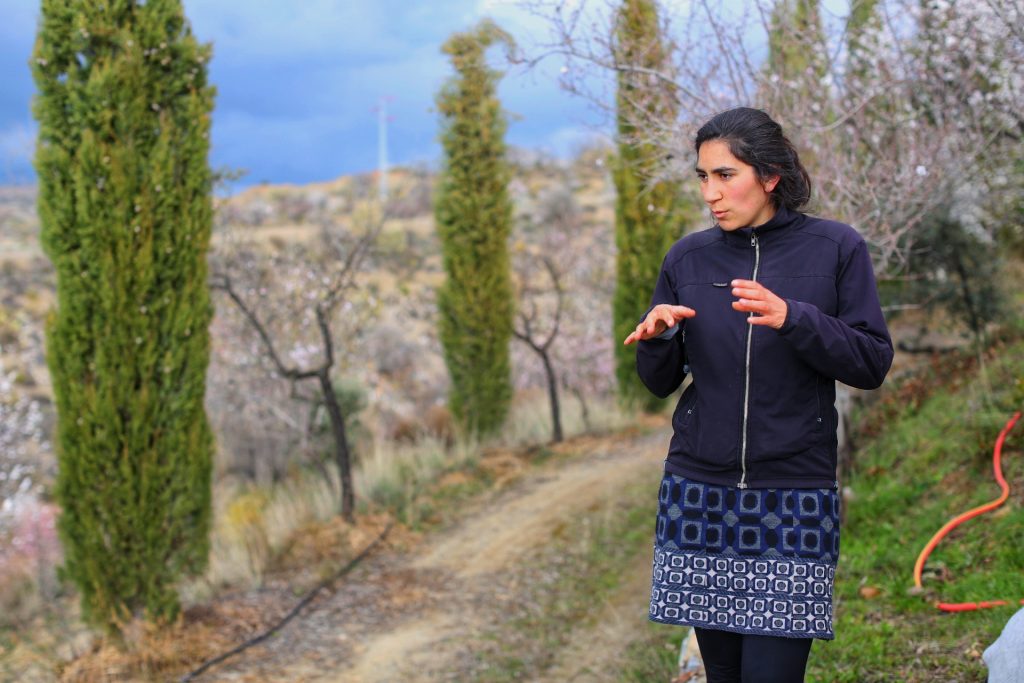
We share with you the article that our dear ESC from the garden department, Ruta, left us about her experience from September to March in this activity:When we look at the world around us, valleys tend to have greater amounts of water, high levels of organic matter and more flourishing biodiversity. These sunken beds are trying to recreate this in our gardens. They help the soil retain moisture, which is especially important in this drylands environment where water is a scarce resource.
Over the last few months we have been creating some sunken beds of our very own! Here we will detail the process of their construction…
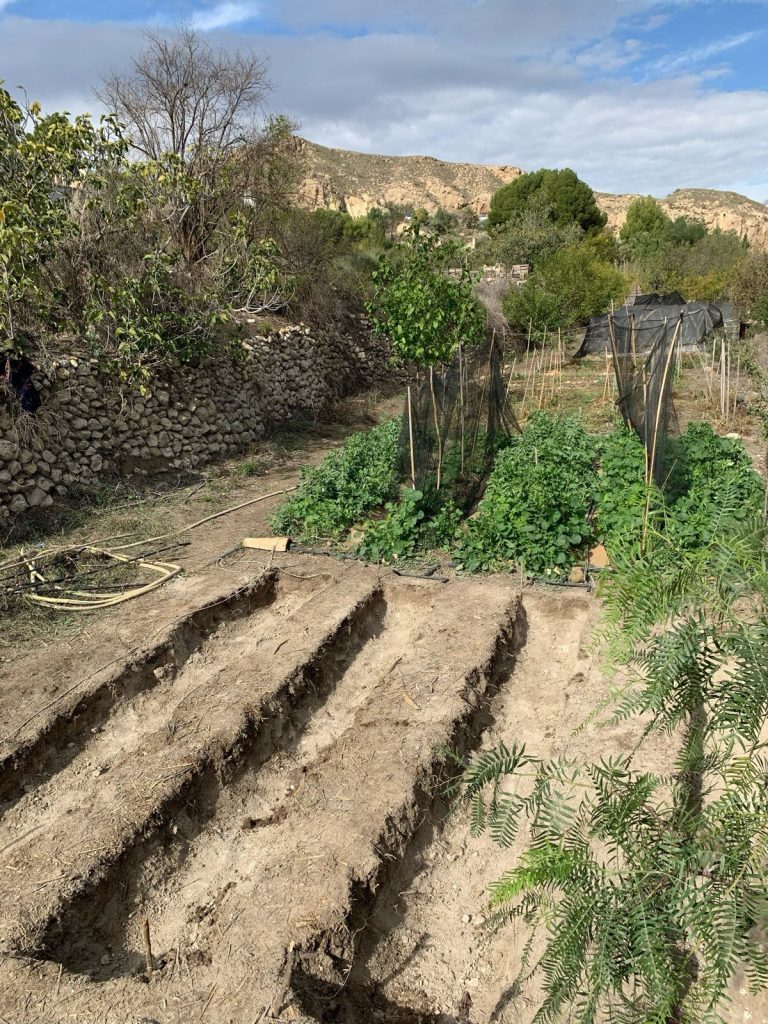
1. We began by measuring and marking out the dimensions of the sunken beds. We decided on 50cm x 500cm. This size matched the size of drip irrigation pipes already installed for this plot.
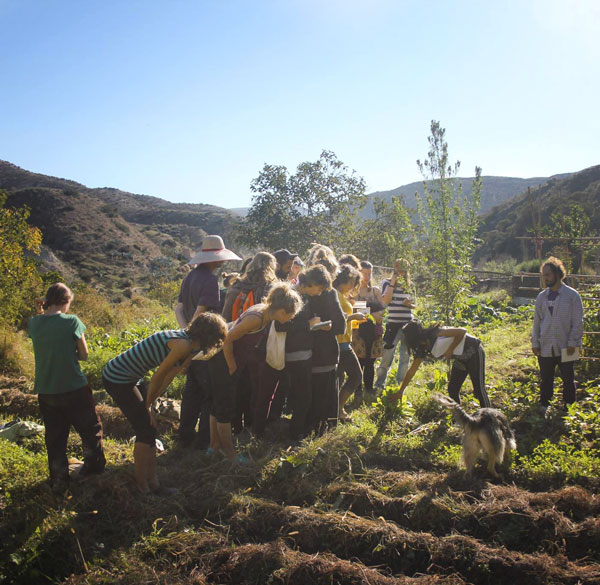
2. We utilised one of our communal activities to dig the beds. A couple hours with 8 people managed to do it! We used hoes to loosen the compacted soil and then shovelled the dirt into buckets. We created two piles of soil… one with the topsoil (makes up approximately 10 cm of the surface) and one with the subsoil (the remaining soil that lives deeper down). We dug about 40cm into the ground.
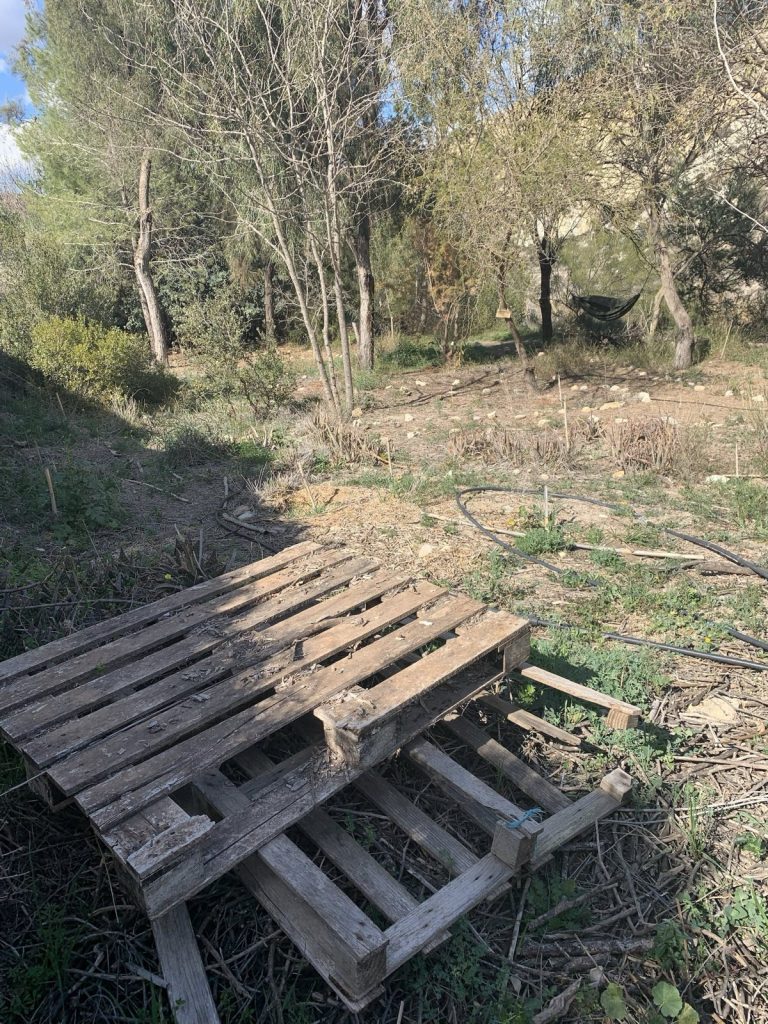
3. Next, we created wooden structures to hold the soil in place and prevent the edges of the beds from collapsing in. Trying to be as resourceful as possible, we decided to use pallets that we found around the Sunseed grounds. We disassembled them and created walls that were approximately 30 cm high (and we re-utilised the nails that the pallets had been assembled with to hammer them together). We then used a saw to create points at the end of the legs, this made sure inserting them into the ground was possible.
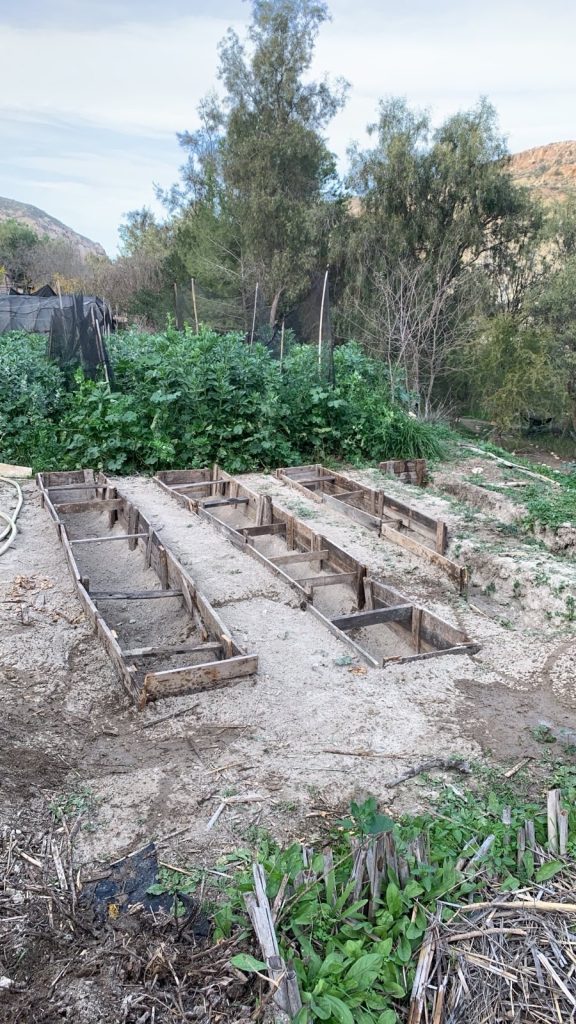
4. We used a sledge hammer to insert the wooden walls into the ground, making sure to align them with the original dimensions of the beds. We also ensured that the walls emerged from the ground a little (5cm approximately).
5. Some sub soil was used to fill some areas where the path had collapsed into the bed during the digging process. This was a little tricky in some areas where a lot of soil had collapsed in. Some sticks were used to reinforce some areas and prevent further collapse.
6. Additional pieces of wood (50 cm in length) were placed in between the bed walls every metre or so, to further reinforce the walls and make sure they did not collapse.
7. More subsoil was also placed on the paths, so that the beds ended up being even deeper!
8. The soil at the bottom of the beds was then loosened a little using a pitch fork/hoe, so it has better drainage and is not so compacted.
9. Then we began filling up the beds with top soil, compost and mulch! We mixed the topsoil (from the pile we created when digging) with some good quality compost, and we then added it to the beds until it amounted to a depth of 30cm. To further increase the quality of the soil and add more nitrogen, we added some of our freshly brewed compost tea (consisting of nettles and mallow) into the beds. Finally, we covered them with a thick layer of mulch (both green and brown material) (approximately 5 cm deep).
10. Next we did some work on the paths! We placed some cardboard on the paths to ensure the paths stayed clear of any weeds. Then a layer of little wood pieces, cañas, nut shells and other things we found was added on top. Ideally we would have had some wood chips but due to not having any on hand, we used wood that was filtered out of the compost and other organic hard materials that we found (including snail shells!). We decided to place some broken tiles (that came from our old roof) on the outside of the paths, right up against the sunken beds walls. The idea behind this was to prevent people from treading on these areas and risking the soil collapsing into the beds.
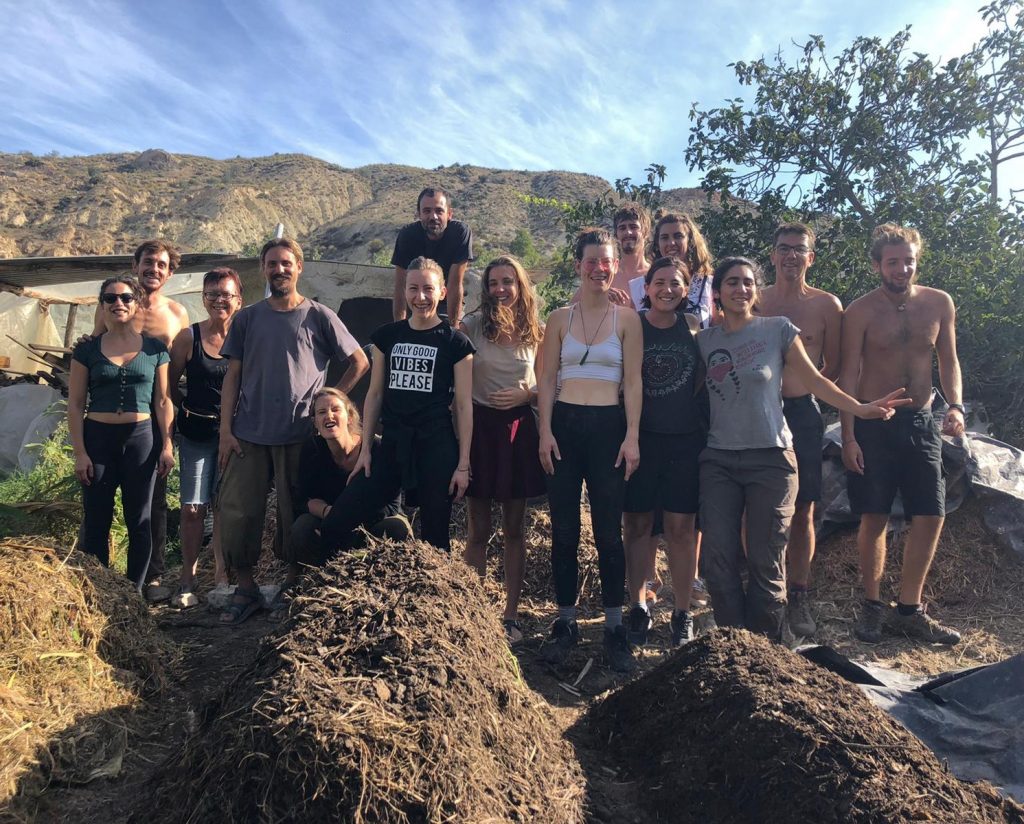
11. Now we wait for a few months until the mulch layer is composted and the soil in the beds has time to readjust to its new home…. And then we begin planting! Thank you to the many hands that contributed to the construction of these lovely new soil houses!